BUYING GUIDE
Installing & Maintaining Your Vanity Unit: A Complete Guide


FREQUENTLY ASKED QUESTIONS
Do I need to seal my stone or marble basin?
Can I install the vanity unit myself?
How deep should a vanity unit be?
Can I install a vanity unit into an existing sink?
What should I do if I spill something on my marble vanity?
Is my vanity unit waterproof?
Why can’t I use standard bathroom cleaners?
How do I prevent “thermal shock” to my stone basin?
Featured collection
-
Harrington Natural Oak Vanity Unit 600-1200mmRegular price From £947.00 (£789.17 EX VAT)Sale price From £947.00 (£789.17 EX VAT)Unit price perRegular price From £947.00 (£789.17 EX VAT)Sale price From £947.00 (£789.17 EX VAT)Unit price per
Colour Oak -
Harrington Grey Oak Vanity Unit 600-1200mmRegular price From £947.00 (£789.17 EX VAT)Sale price From £947.00 (£789.17 EX VAT)Unit price perRegular price From £947.00 (£789.17 EX VAT)Sale price From £947.00 (£789.17 EX VAT)Unit price per
Colour Grey oak -
Hampton Natural Oak Floorstanding Vanity Unit with Matte White Basin 800mmRegular price £1,397.00 GBP (£1,164.17 EX VAT)Sale price £1,397.00 GBP (£1,164.17 EX VAT)Unit price perRegular price £1,397.00 GBP (£1,164.17 EX VAT)Sale price £1,397.00 GBP (£1,164.17 EX VAT)Unit price per
Colour Oak -
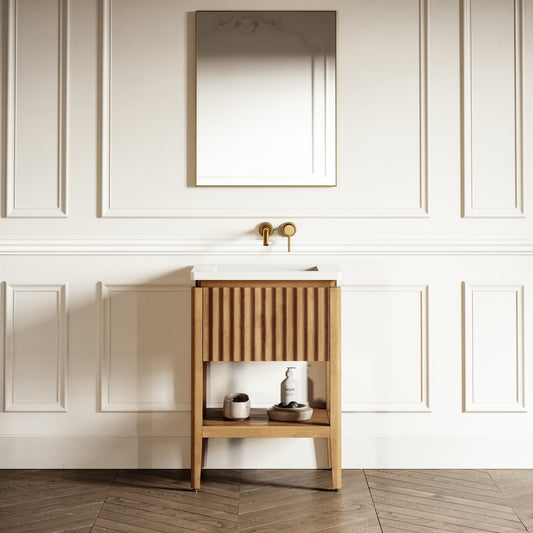
Eclat Natural Oak Wood Grain Vanity Unit 600mmRegular price £797.00 GBP (£664.17 EX VAT)Sale price £797.00 GBP (£664.17 EX VAT)Unit price perRegular price £797.00 GBP (£664.17 EX VAT)Sale price £797.00 GBP (£664.17 EX VAT)Unit price per
Colour Oak -
Connaught Floorstanding Vanity Unit 800mmRegular price From £1,097.00 (£914.17 EX VAT)Sale price From £1,097.00 (£914.17 EX VAT)Unit price perRegular price From £1,097.00 (£914.17 EX VAT)Sale price From £1,097.00 (£914.17 EX VAT)Unit price per
-
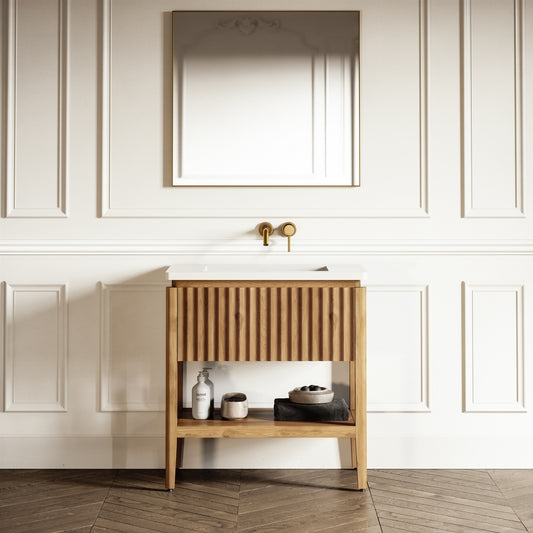
Eclat Natural Oak Wood Grain Vanity Unit 800mmRegular price £997.00 GBP (£830.83 EX VAT)Sale price £997.00 GBP (£830.83 EX VAT)Unit price perRegular price £997.00 GBP (£830.83 EX VAT)Sale price £997.00 GBP (£830.83 EX VAT)Unit price per
Colour Oak -
Volini Matte Cappuccino Vanity Unit with Stone Basin 600mmRegular price £597.00 GBP (£497.50 EX VAT)Sale price £597.00 GBP (£497.50 EX VAT)Unit price per
CORTESE®
Regular price £597.00 GBP (£497.50 EX VAT)Sale price £597.00 GBP (£497.50 EX VAT)Unit price perColour Matte cappuccino


Published by Aidan Cooper