BUYING GUIDE
BEFORE INSTALLATION


How Much Does it Cost to Fit a Bath?
Do’s and Don’ts: Bath Installation
Stone Bath Installation FAQs
Can I fit a stone bath myself?
What holds a bathtub in place?
Does a bathtub need support underneath?
How hard is it to install a freestanding bath?
How are freestanding baths plumbed in?
Featured collection
-
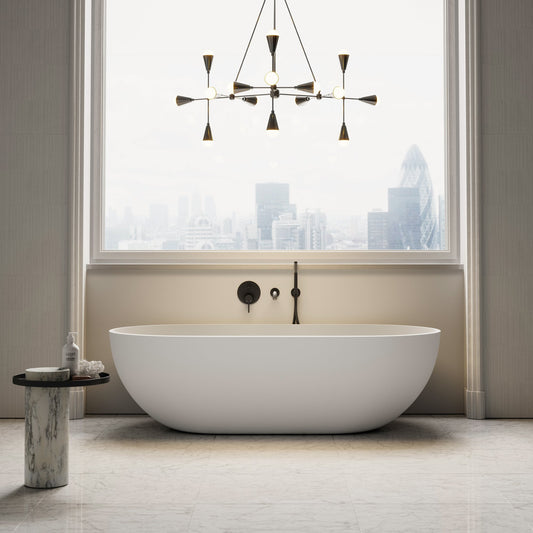
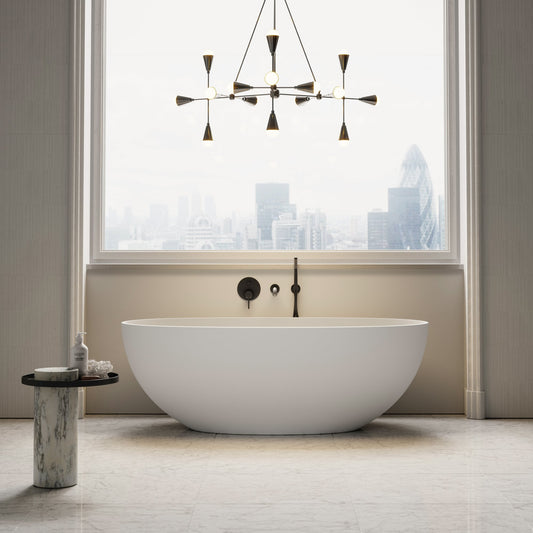
Picasso White Freestanding Stone Bath 1780mmRegular price From £1,397.00 (£1,164.17 EX VAT)Sale price From £1,397.00 (£1,164.17 EX VAT)Unit price per
-
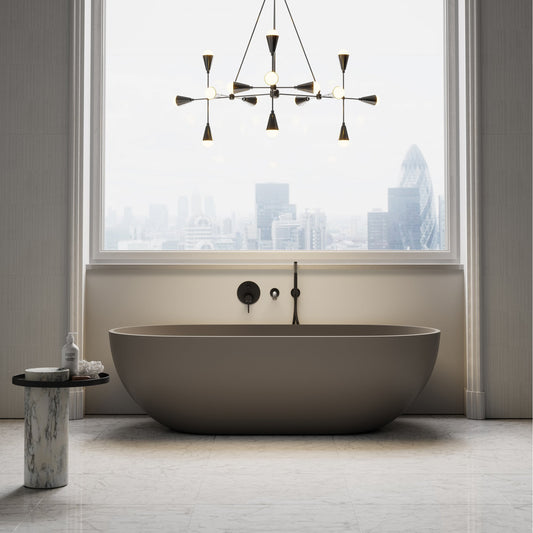
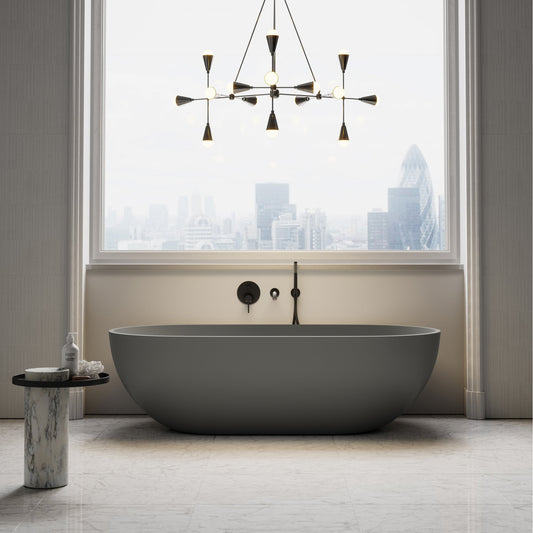
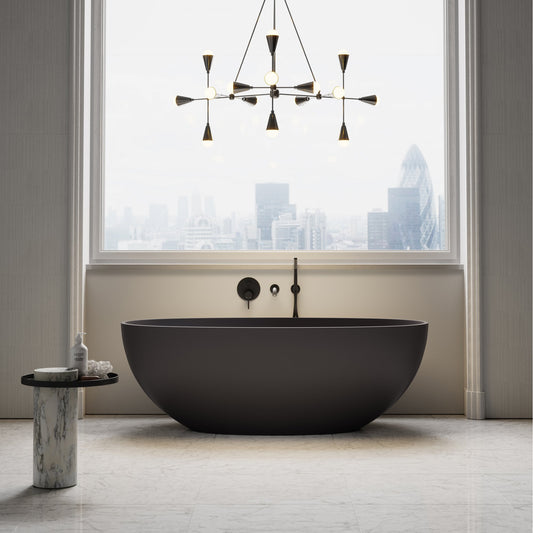
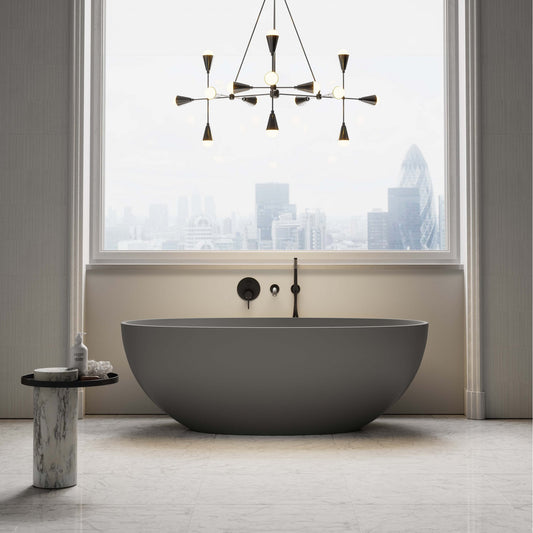
Picasso Charcoal Freestanding Stone Bath 1780mmRegular price £2,197.00 GBP (£1,830.83 EX VAT)Sale price £2,197.00 GBP (£1,830.83 EX VAT)Unit price per
-
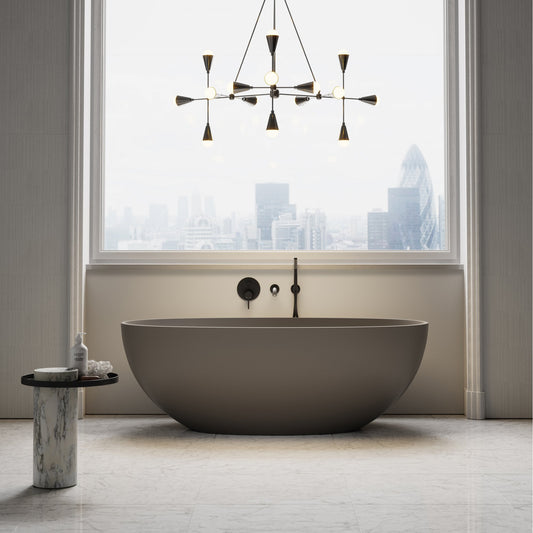
Picasso Earth Freestanding Stone Bath 1780mmRegular price £2,197.00 GBP (£1,830.83 EX VAT)Sale price £2,197.00 GBP (£1,830.83 EX VAT)Unit price per
-
Picasso Clay Freestanding Stone Bath 1780mmRegular price £2,197.00 GBP (£1,830.83 EX VAT)Sale price £2,197.00 GBP (£1,830.83 EX VAT)Unit price per
-
Picasso White Freestanding Stone Bath 1650mmRegular price From £1,397.00 (£1,164.17 EX VAT)Sale price From £1,397.00 (£1,164.17 EX VAT)Unit price per
-
Picasso Charcoal Freestanding Stone Bath 1650mmRegular price £2,197.00 GBP (£1,830.83 EX VAT)Sale price £2,197.00 GBP (£1,830.83 EX VAT)Unit price per
-
Picasso Earth Freestanding Stone Bath 1650mmRegular price £2,197.00 GBP (£1,830.83 EX VAT)Sale price £2,197.00 GBP (£1,830.83 EX VAT)Unit price per
-
Picasso Clay Freestanding Stone Bath 1650mmRegular price £1,350.00 GBP (£1,125.00 EX VAT)Sale price £1,350.00 GBP (£1,125.00 EX VAT)Unit price per

Published by Aidan Cooper