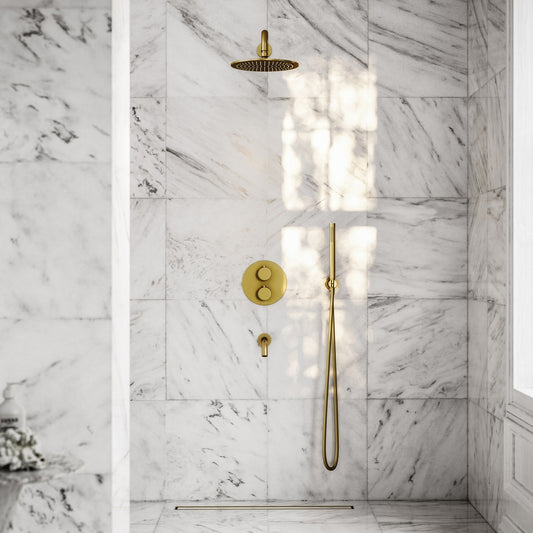
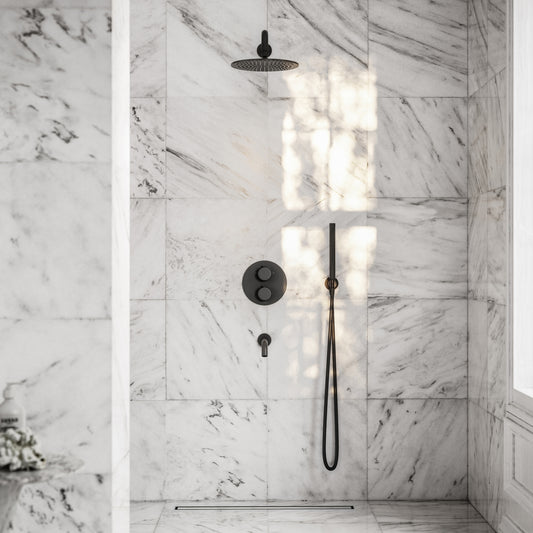
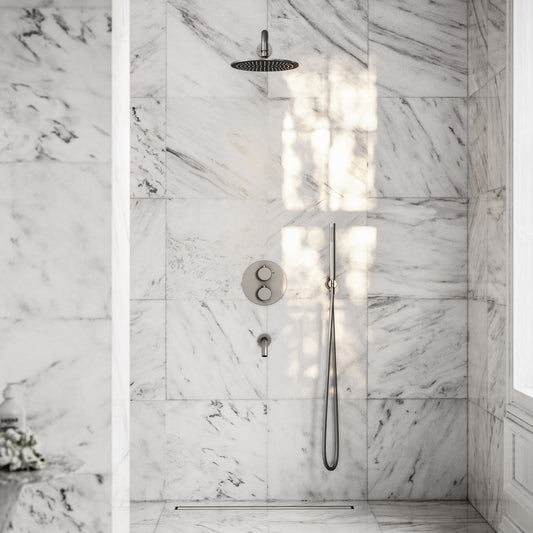
What is a thermostatic shower?
A thermostatic shower is a type of mixer shower featuring an internal thermostatic valve that blends hot and cold water to maintain a constant, precise temperature. Fed directly from your home’s hot and cold supply, it ensures a stable flow that remains consistent, even when other taps in the property are in use.
What Is a Concealed Shower Valve?
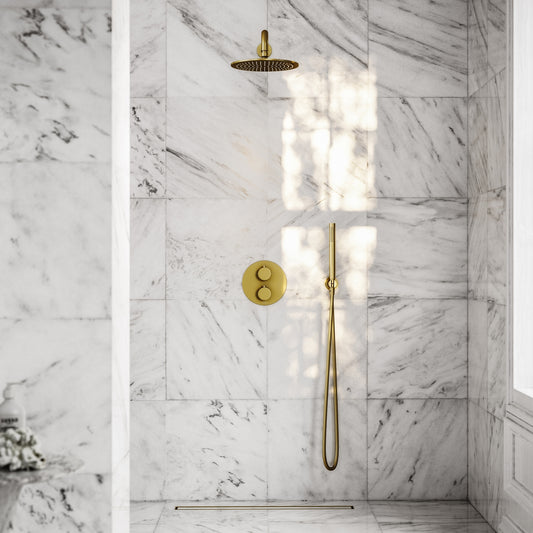
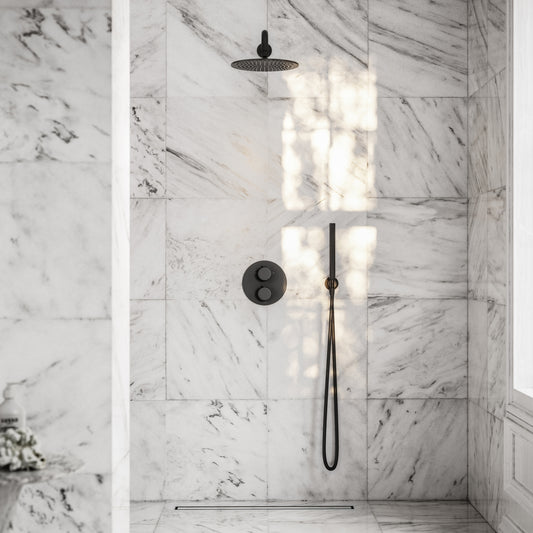
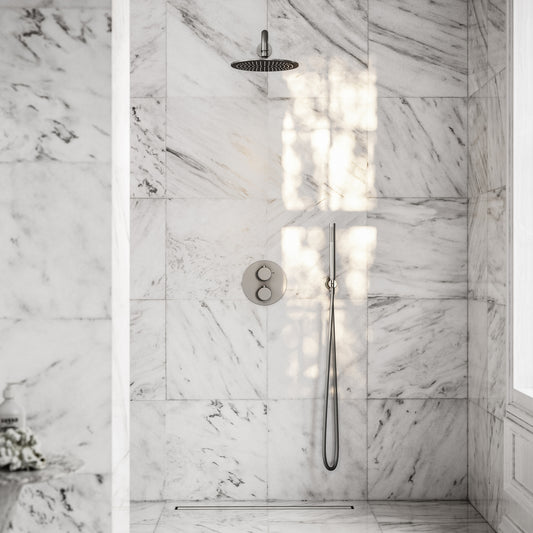
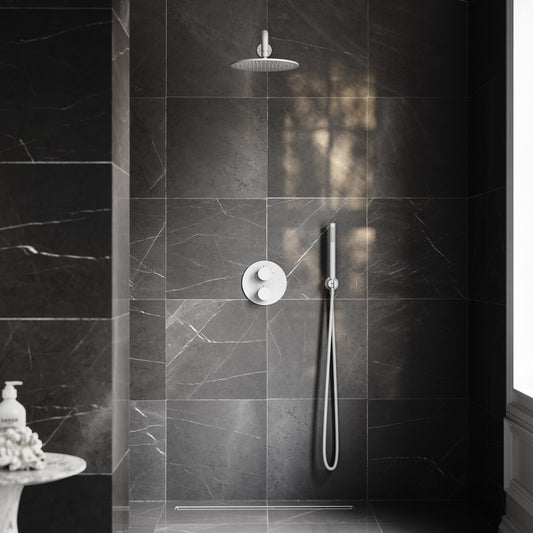
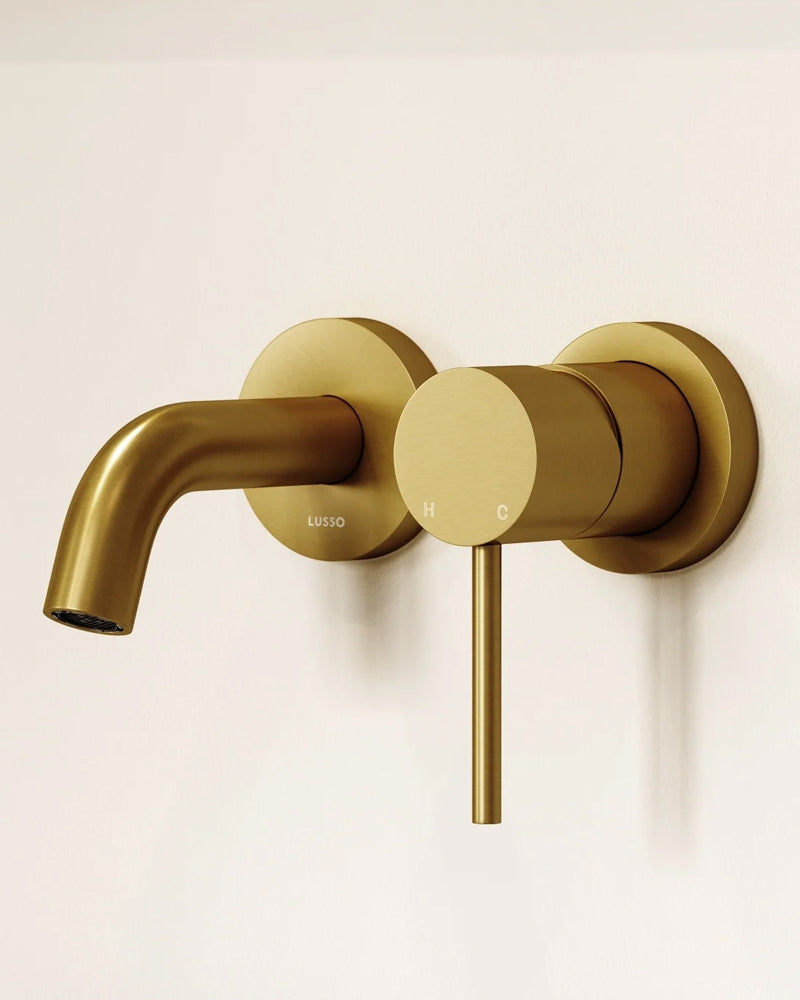
A concealed shower valve is an ultra-discreet option ideal for minimalist interiors. The functional elements of the valve are fitted behind the wall, leaving only a sleek control plate and levers visible, allowing you to regulate the flow and temperature of your thermostatic shower with refined simplicity.
How Do I Maintain a Concealed Thermostatic Shower Valve?
If your thermostatic shower begins to underperform - perhaps delivering reduced pressure or inconsistent temperature - your valve may simply require routine maintenance. Limescale and debris can accumulate inside the valve body, restricting water flow. The guide below outlines how to clean and care for your concealed shower valve to ensure optimal performance.
Maintenance Guide
Before Beginning
- Turn off and isolate all water supplies to the shower.
- If you’re unsure how to isolate your system, consult a qualified plumber.
- Always refer to the installation instructions supplied with your Lusso order.
Step-by-Step Instructions
-
Remove Levers or Knobs
If your valve has a lever, unscrew it to access the fixings.
Using a narrow Allen key, loosen the internal screw to remove the control knob. -
Remove the Backplate
If fitted, gently pull the backplate away from the wall to expose the internal housings. -
Access Valve Surrounds
Unscrew the valve surrounds from their housing, leaving the pipework visible. -
Remove the Thermostatic Cartridge
With an adjustable spanner, loosen and remove the thermostatic cartridge along with any additional valves. -
Clean the Valve Housings
Use a small stiff brush to clean inside each valve chamber.
Wipe thoroughly with a damp cloth to remove any remaining residue. -
Clean the Thermostatic Cartridge
Prepare a mild solution of water and vinegar.
Immerse the cartridge for approximately 10 minutes.
Brush gently to remove any limescale, then rinse under fresh water. -
Reassemble the Valve
Refit all valve components in reverse order, ensuring every O-ring is intact and properly positioned.
Tighten all parts carefully using your adjustable spanner.
Refit the thermostatic cartridge with the pipe facing outward and secure firmly. -
Replace External Components
Reattach housings and check O-rings once again.
Fit control knobs and tighten using your Allen key.
Screw lever handles back into place. -
Restore Water Supply & Test
Turn the water back on and check for leaks.
Test shower performance to ensure smooth flow and consistent temperature.


